
Progress Photo Guidelines
This is your space to show up honestly, track your hard work, and witness what consistency actually looks like on your body. Own it.
Your progress photos are yours alone - no other member can view them.
Where to Find Your Progress Photos
Inside the app, tap the menu lines (☰) in the top corner, then select Progress Photos. From here you can upload new photos, add a caption, select a date, and scroll back through your entire journey whenever you need a reminder of how far you've come.
Captioning your photos: When you load a photo, make it easy to track over time. We recommend including:
“Front”, “Side”, “Back”
Selecting the appropriate date
Best Practices for Taking Progress Photos
Consistency is everything here. The goal isn't a perfect photo - it's a comparable one. The more consistent your setup, the more clearly you'll see your results.
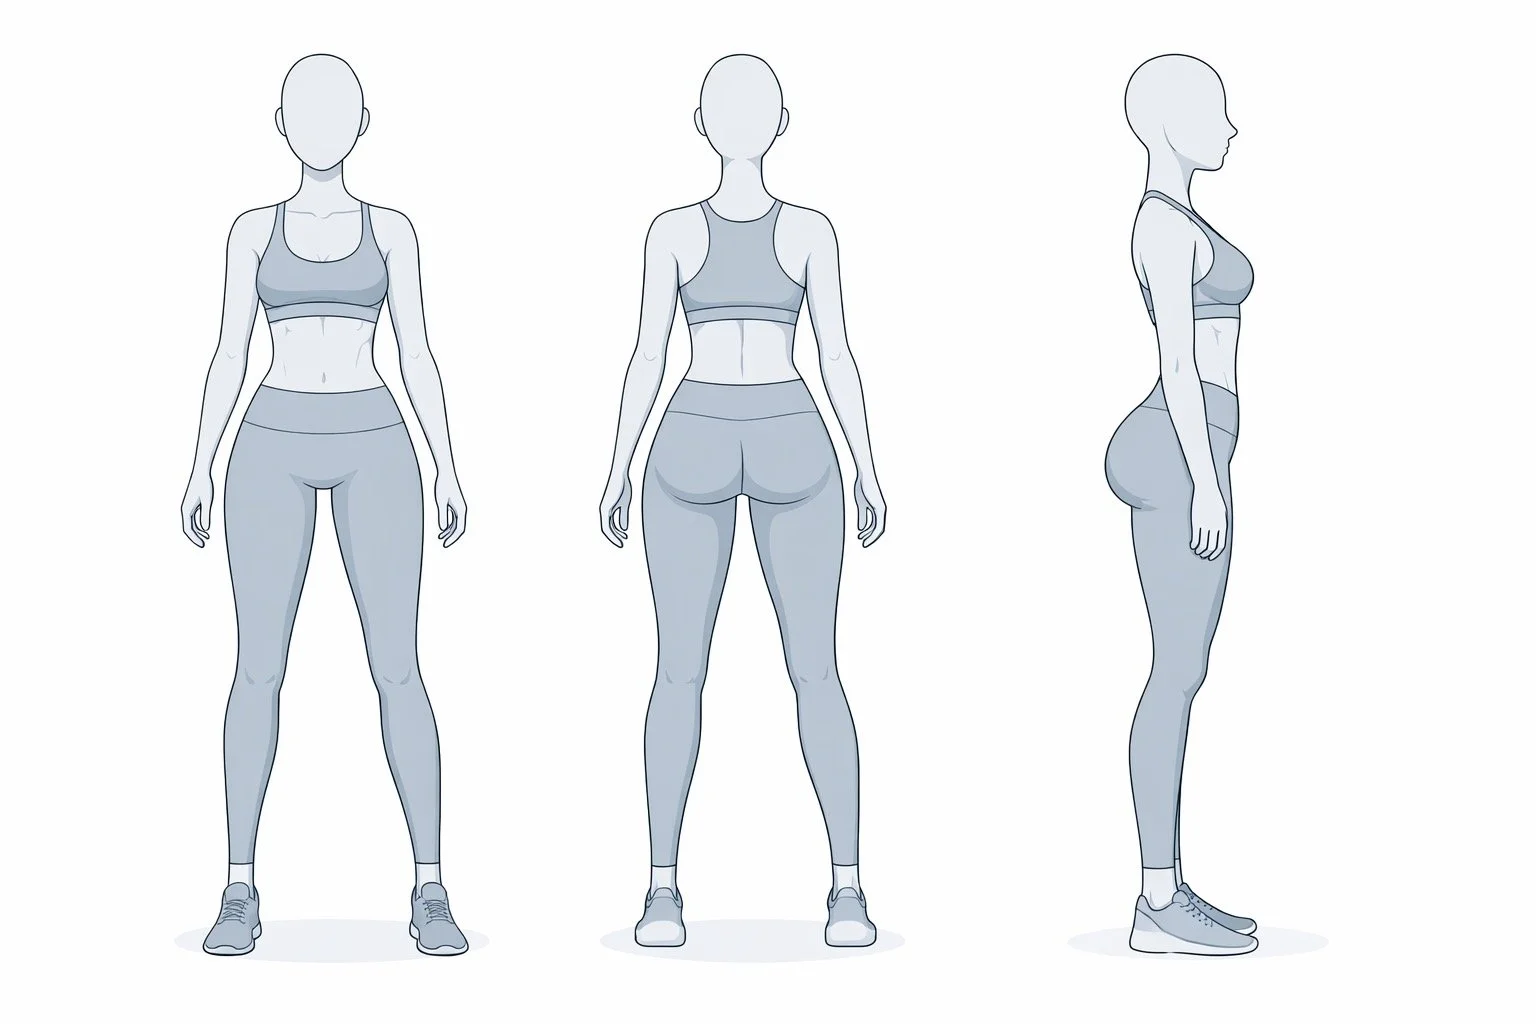
📍Angles to Capture: Take three shots every check-in:
Front - facing the camera straight on
Back - fully turned away
Side - a true 90° profile
💪 Relaxed vs. Flexed: If you choose one, stick with relaxed, but you can do both - just caption it appropriately. A relaxed photo shows your baseline; a flexed photo shows what you've built. Both matter. Both are worth celebrating.
💡 Lighting & Background
Natural light or bright overhead lighting works best - avoid dark rooms or harsh shadows
Stand against a plain, neutral background (a blank wall is your best friend)
Avoid busy backgrounds that make it hard to see your shape clearly
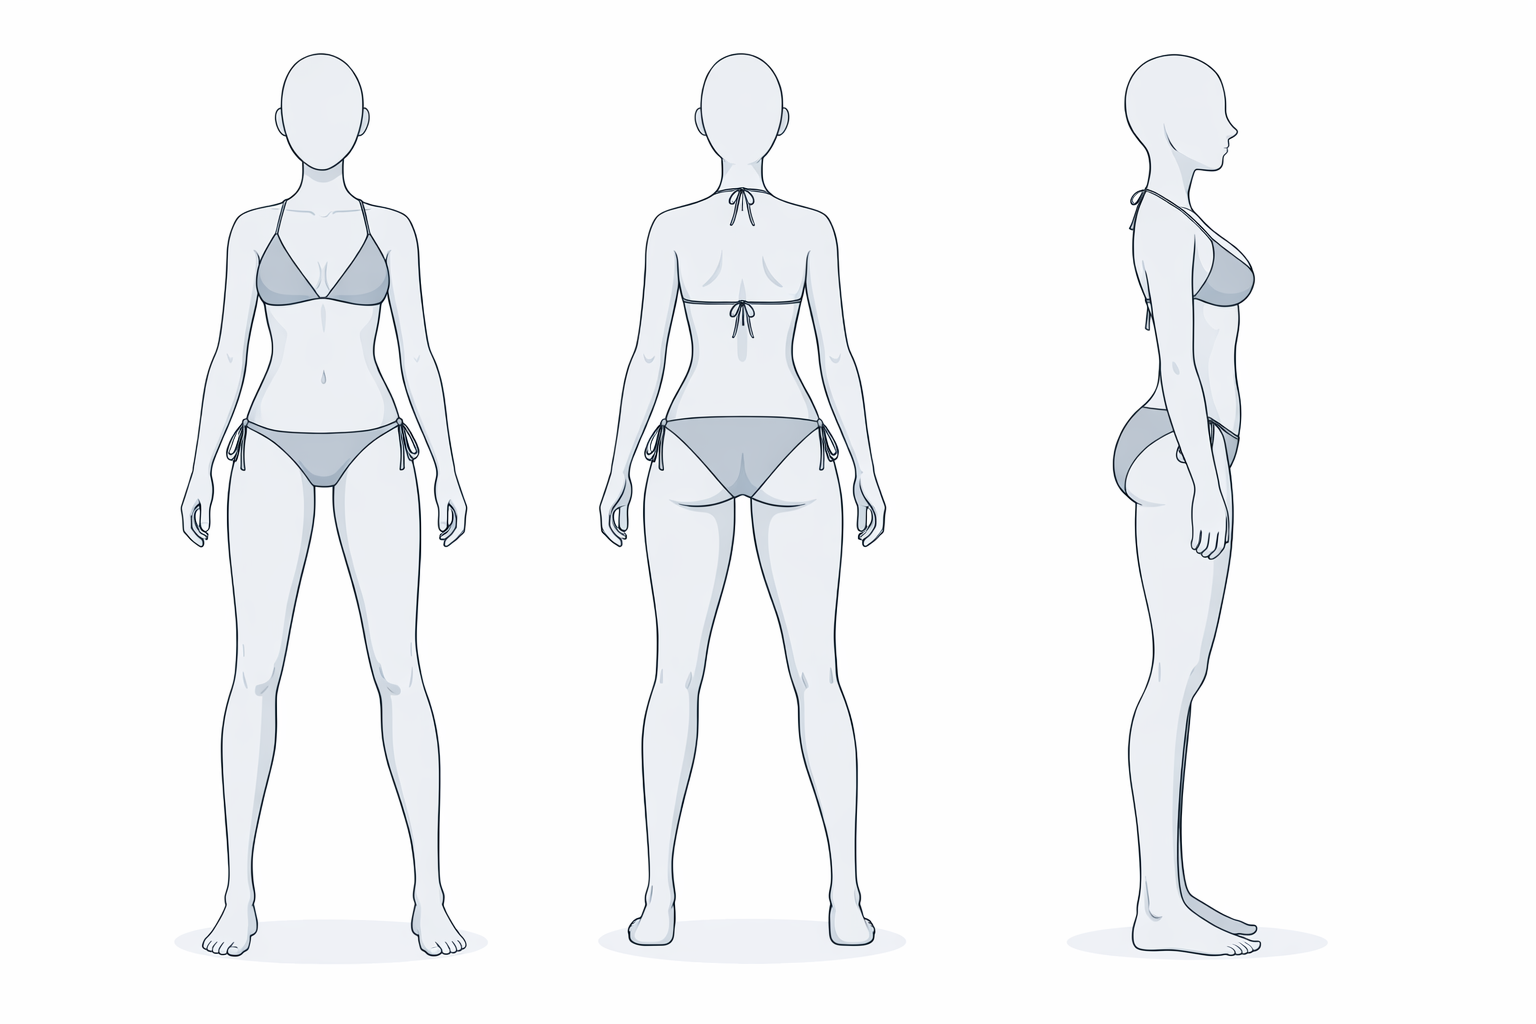
👙 Clothing
Wear the same outfit every check-in - a sports bra and shorts or a bikini are ideal
Form-fitting is key - baggy clothing hides the very changes you're working for
Keep it simple so the focus stays on you
📅 When to Take Them
Every 8-12 weeks is ideal. Pick your interval and stick to it.
Take your photos at the same time of day, ideally in the morning before eating - your body is most consistent then.
Remember: Progress isn't always loud. Sometimes it's just you, a mirror, and the proof that you showed up.